How to Change a Flat Tyre: Step-by-Step Guide for UK Drivers
A complete step-by-step guide to changing a flat tyre safely at the roadside. Covers what equipment you need, each stage of the change, space-saver spares, puncture repair kits, run-flat tyres, and what to do if your car has no spare wheel.
Table of Contents
Changing a flat tyre is a skill every UK driver should know. The basic process takes around 20 to 30 minutes if you have the right equipment and a safe location to work. You will need a spare wheel, a car jack, a wheel brace, and a few minutes to follow the steps in this guide.
This guide covers every stage: what equipment you need, how to change the tyre safely step by step, what to do with a space-saver spare, how tyre repair kits work, and what to do if your car has no spare wheel at all.
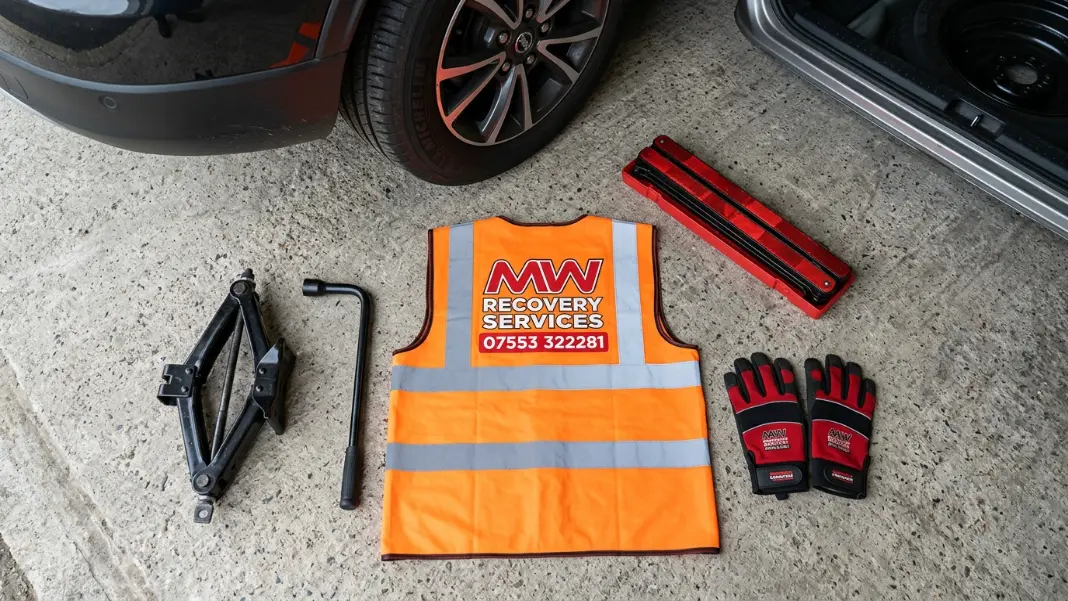
What You Need to Change a Flat Tyre
Before you start, check that you have all the necessary equipment. A tyre change attempt without the right tools can leave you in a worse position than when you started.
- Spare wheel - a full-size spare, a space-saver spare, or a tyre repair kit if your car does not carry a wheel
- Car jack - usually stored under the boot floor or beneath the vehicle on older models
- Wheel brace - to loosen and tighten wheel nuts
- Locking wheel nut key - required if your alloy wheels have locking nuts, which most modern cars do
- Vehicle handbook - to locate the correct jacking points on your specific make and model
- High-visibility vest - essential on any road, legally required when exiting a broken-down vehicle in several European countries
- Warning triangle - place it 45 metres behind the vehicle on a public road
- Torch and gloves - particularly useful at night or in wet weather
Check your spare tyre pressure periodically, not just when you get a puncture. A spare that has sat unused for two years at low pressure will not help you at the roadside. Most manufacturers recommend checking spare tyre pressure every three to six months.
Is It Safe to Change Your Tyre Here?
Location is the most important decision you make when you get a flat tyre. Not every breakdown spot is safe for a roadside tyre change.
Change the tyre yourself if all of these apply:
- You are in a car park, layby, or quiet side street with no moving traffic nearby
- The ground is flat, firm, and stable
- You have good visibility in all directions
- Weather conditions are manageable and you have the right equipment
Do not attempt a DIY tyre change if any of these apply:
- You are on a motorway or a dual carriageway hard shoulder
- You are near a live lane with passing traffic at speed
- The ground is soft, sloped, or uneven
- It is dark and you do not have a torch, hi-vis vest, or warning triangle
If you are on a motorway, exit the vehicle from the passenger side, move well behind the safety barrier, and call for help. Attempting a tyre change on a motorway hard shoulder is dangerous regardless of experience. A professional wheel change service will reach you safely and have the correct equipment for roadside conditions.
How to Change a Flat Tyre Step by Step
Once you have confirmed it is safe to proceed, follow these nine steps in order. Steps 3 and 4 in particular must be completed before the vehicle leaves the ground.
Step 1: Pull Over Safely and Secure Your Vehicle
As soon as you feel a flat tyre, slow down gradually and steer to the nearest safe stopping point. Do not brake hard or make sudden steering inputs. Turn on your hazard lights immediately. Once stopped on firm, flat ground, apply the handbrake fully and select first gear, or Park on an automatic. If you have a warning triangle, place it 45 metres behind your vehicle facing oncoming traffic.
Step 2: Get Your Equipment Out
Retrieve the spare wheel, jack, wheel brace, and locking wheel nut key from the boot. Before touching the jack, check your vehicle handbook for the correct jacking points for your specific model. Jacking under the wrong point can damage the sill, the floor pan, or the jack itself. Jacking points are usually reinforced metal notches in the sill or identified clearly in the handbook diagrams.
Step 3: Loosen the Wheel Nuts Before You Jack Up
This step must come before you raise the vehicle. Loosen each wheel nut by a quarter to half a turn before lifting. If you try to loosen the nuts once the wheel is off the ground, the wheel will spin freely and you will get no torque on the brace. Turn anticlockwise to loosen. If the nuts are very stiff, stand on the wheel brace and use your body weight rather than arm strength alone.
Step 4: Position the Jack Under the Vehicle
Place the jack directly beneath the correct jacking point for the wheel you are changing. The jack must sit on solid, level ground. A jack placed on soft ground or at an angle will tip when the vehicle is raised. If the ground is soft or grassy, place a flat piece of timber under the jack base to spread the load and prevent sinking.
Step 5: Raise the Vehicle
Raise the vehicle until the flat tyre is approximately 10 to 15 centimetres clear of the ground. Keep all parts of your body clear of the underside of the vehicle while it is on the jack. If the jack feels unstable or the vehicle shifts at any point, lower it immediately and reposition before continuing.
Step 6: Remove the Flat Tyre
Fully unscrew all wheel nuts and keep them somewhere safe, such as a pocket or in the upturned wheel trim. Pull the flat tyre straight towards you. If it feels stuck, a firm kick to the sidewall (not the rim) can break the corrosion bond at the hub. Once the tyre is off, lay it flat underneath the vehicle sill as a precaution in case the jack shifts.
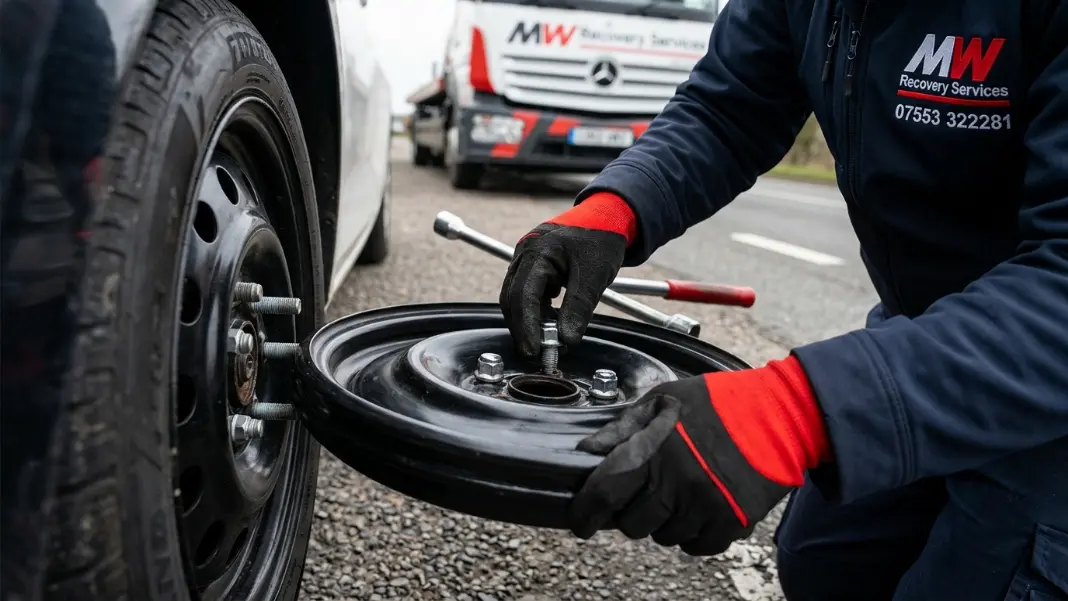
Step 7: Fit the Spare Wheel
Lift the spare onto the wheel hub and align the holes with the wheel studs. Push it flush against the hub face. Thread all wheel nuts on by hand first, turning clockwise, until each one is finger tight. Then use the wheel brace to tighten them in a star pattern, working opposite pairs rather than going around in a circle. This ensures the wheel seats evenly against the hub.
Step 8: Lower the Vehicle and Fully Tighten the Nuts
Lower the vehicle until the spare tyre contacts the ground but the full vehicle weight is not yet on it. Tighten all wheel nuts firmly in the same star pattern. Then lower the vehicle fully and remove the jack. Give each nut one final firm tighten now that the complete weight of the car is on the tyre and the wheel cannot rotate.
Step 9: Check the Spare Tyre Pressure
If you carry a tyre pressure gauge, check the spare now. If not, drive slowly to the nearest petrol station or tyre centre and check it there before travelling further. Most passenger car tyres require between 30 and 35 PSI. The correct figure for your vehicle is on a sticker inside the driver door sill or in the handbook. An under-inflated spare handles poorly and wears unevenly.
What If Your Spare Is a Space-Saver?
A space-saver spare, sometimes called a skinny spare or a temporary use tyre, is the narrow, smaller-diameter spare wheel fitted to many modern cars. It is a get-you-home solution only and carries strict usage restrictions.
- Maximum speed: 50 mph. Space-saver tyres are not rated for motorway speeds. Even a brief period at 70 mph can cause overheating and failure.
- Maximum distance: 50 to 70 miles. The reduced diameter affects your ABS, stability control, and traction control systems.
- Drive directly to a tyre centre and have the punctured tyre repaired or replaced before returning to normal use.
- Do not use the space-saver through an automatic car wash. The smaller diameter can jam the track system.
My Car Has a Tyre Repair Kit, Not a Spare Wheel
Many modern cars come without any spare wheel. Instead they include a tyre inflation and sealant kit: a canister of foam sealant and a small electric compressor that connects to the 12-volt socket.
The kit works by injecting foam sealant into the tyre through the valve stem, then inflating the tyre with the compressor. It can temporarily seal a small puncture in the central tread area, typically a nail or screw hole smaller than 4 millimetres across.
Tyre sealant kits cannot fix:
- Sidewall cuts or bulges
- Damage from driving on the flat for any distance
- Blowouts or large tread tears
- Damage to the valve stem itself
- Any puncture larger than approximately 4 millimetres
If you use a sealant kit, tell the tyre centre technician before they begin any work. The sealant contaminates the inside of the tyre and the TPMS pressure sensor on the wheel. In most cases the tyre cannot be repaired after sealant use and must be replaced entirely. Visit a tyre centre within 50 miles of using the kit.
What Are Run-Flat Tyres and Can You Change One Yourself?
Run-flat tyres have a reinforced sidewall that supports the weight of the vehicle even when tyre pressure drops to zero. They are standard fitment on many BMW, MINI, and Mercedes-Benz models and can be identified by the RFT, ROF, or SSR marking on the tyre sidewall.
They allow you to drive at a reduced speed, typically up to 50 mph, for up to 50 miles after a complete pressure loss, giving you enough range to reach a garage safely.
Run-flat tyres cannot be safely changed at the roadside with standard equipment. The reinforced sidewall requires specialist mounting and demounting tools. Attempting to change a run-flat with a standard jack and wheel brace risks damaging the tyre, the alloy rim, and the vehicle. If you drive a car fitted with run-flat tyres, use the run-flat capability to reach a safe location and then arrange a professional wheel change rather than attempting a DIY swap at the roadside.
What to Do If You Have No Spare and No Repair Kit
If your vehicle has no spare wheel, your repair kit cannot seal the damage, or you have a run-flat that has been driven beyond its limit, you will need a roadside wheel change or recovery service.
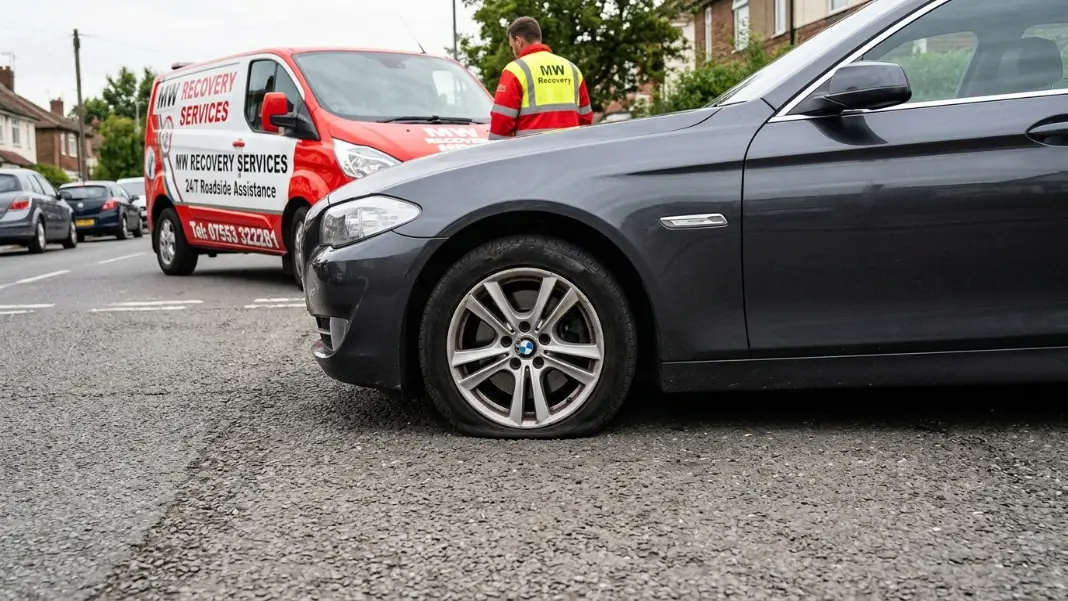
MW Recovery Services provides 24/7 flat tyre and wheel change assistance across Greater Manchester. If you have a usable spare, our operator will change it safely at the roadside. If you have no spare or the tyre is beyond repair, we can source a matching replacement tyre and fit it at the scene where possible. If that is not possible, we arrange safe breakdown recovery to the nearest tyre centre or our Salford workshop.
We cover Manchester, Salford, Stockport, Bolton, Oldham, Rochdale, Bury, Wigan, Trafford, Tameside, and all areas across Greater Manchester. Response time is 30 to 60 minutes from your call at any hour of the day or night.
Stuck with a flat tyre in Greater Manchester?
No spare wheel? Repair kit not working? Run-flat past its limit? We carry tyres for most common vehicles and can often fit a replacement at the roadside. Call now for a fixed price with no hidden fees.
Call 07553 322281How Long Does It Take to Change a Flat Tyre?
For a driver with experience and all the right equipment in a safe location, a standard tyre change takes 20 to 30 minutes. First-timers typically take 40 to 50 minutes, particularly if wheel nuts are corroded or tight, or the spare has to be located in an unfamiliar boot layout. A professional roadside operator typically completes the change in 15 to 25 minutes.
The factors that most commonly slow the process are overtightened wheel nuts, a wheel bonded to the hub by rust, soft ground requiring the jack to be repositioned, or missing equipment discovered partway through the job. Check your spare tyre, jack, and wheel brace every few months so you know exactly what you have before you need them.
Frequently Asked Questions
Common questions about this topic
No. Driving on a completely flat tyre destroys the tyre rapidly, damages the alloy wheel rim, and makes the vehicle very difficult to control. Pull over as soon as it is safe to do so. The only exception is a run-flat tyre, which can be driven at a maximum of 50 mph for up to 50 miles after a complete loss of pressure.
Need Car Recovery in Manchester?
MW Recovery provides fast, professional breakdown recovery and roadside assistance across all of Greater Manchester. One call and we are on our way.
You Might Also Like
More helpful articles from our blog